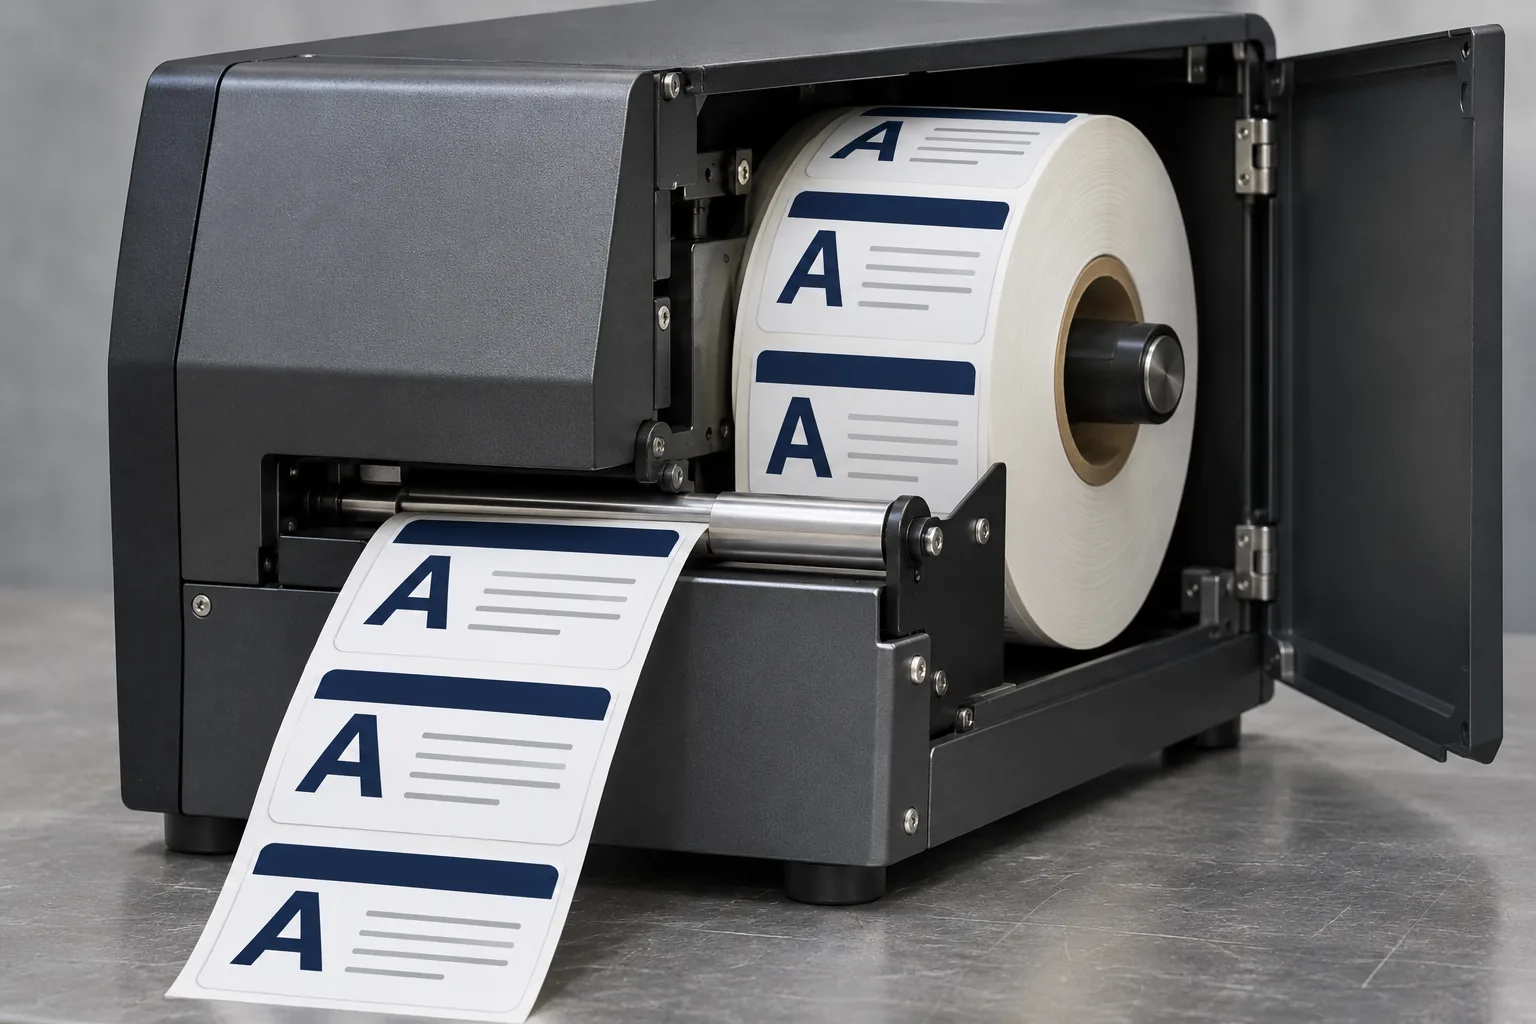
 iImage created digitally for illustrative purposes.
When a customer approves an artwork proof, they check the text, the colours and the dimensions. The roll drawing in one corner, with a letter A and an arrow, usually goes unnoticed. And yet it decides something that is not easy to fix afterwards: how the labels come off the roll. If the machine expects them to come off top of the design first and they come off bottom first, the label reaches the part or the box upside down, and the whole roll is correctly made and wrongly ordered.
What winding direction is
When labels are made on rolls, two things have to be decided that the on-screen design does not say. The first is which way the printed face points: towards the outside of the roll, so that it can be seen without unwinding, or towards the inside, towards the cardboard core, so that the liner is what shows on the outside. In the trade this is called wound out and wound in, or face out and face in.
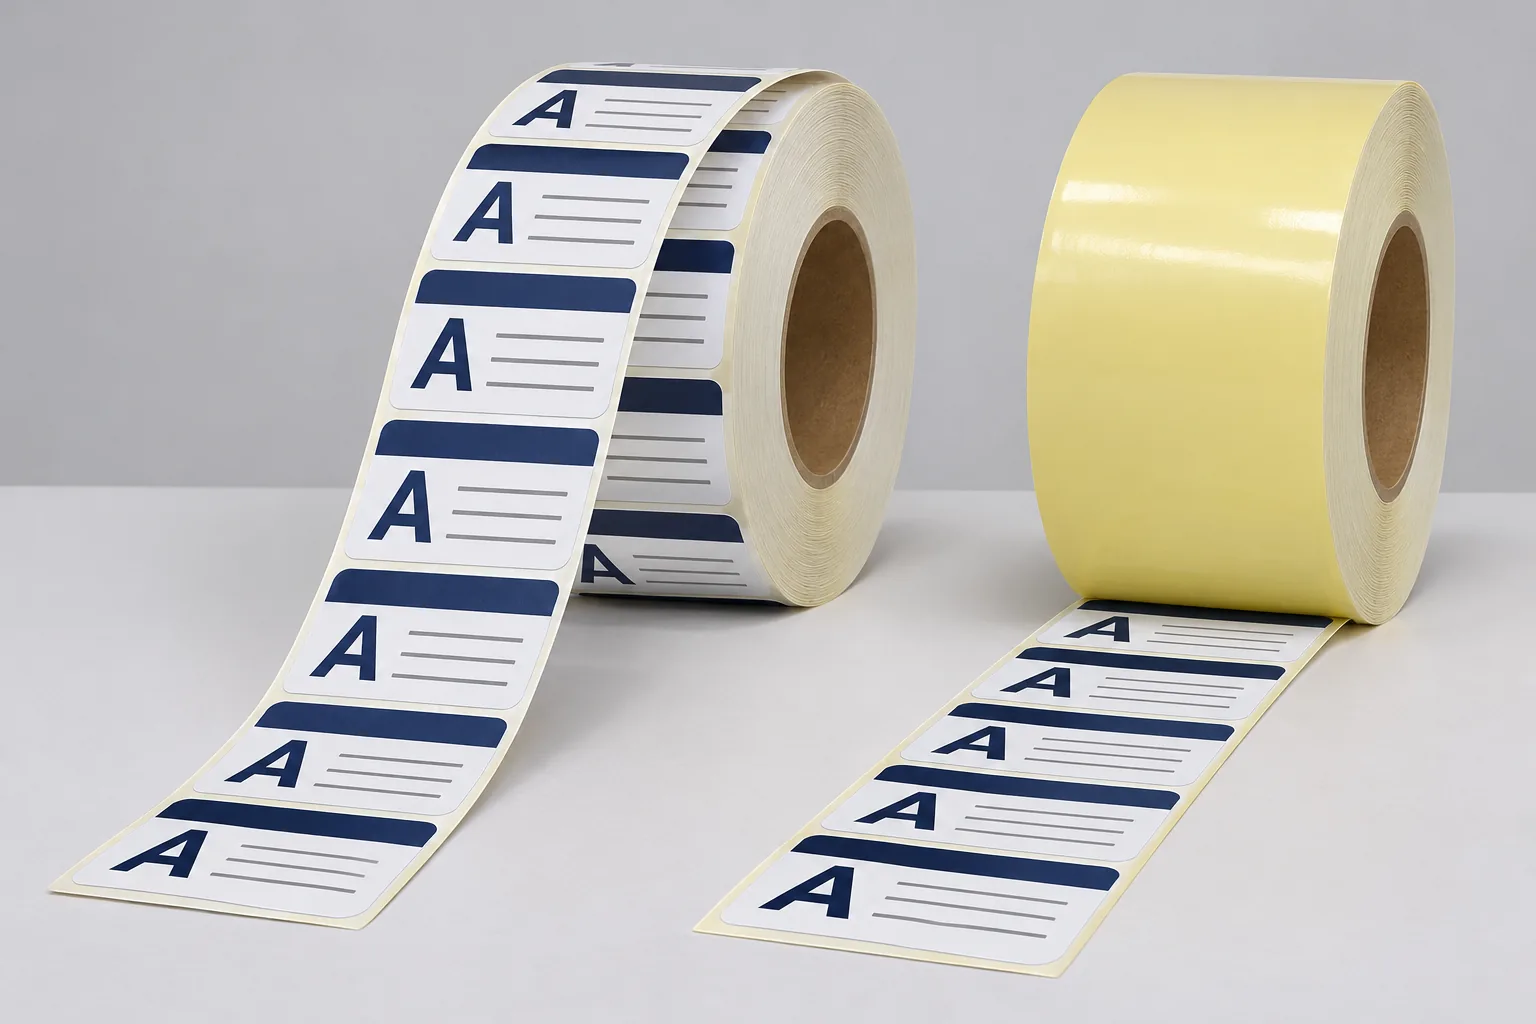 iImage created digitally for illustrative purposes.
The second is which edge of the design the label comes off first when the roll is unwound: the top, the bottom, the left side or the right side. To a printer or an applicator, the label is just a rectangle moving forward; whether the text ends up upright depends on that rectangle arriving with the correct edge leading.
Two faces times four edges give eight combinations. These are the eight winding positions that appear, in one form or another, on the artwork proofs of any label supplier.
The eight positions
The clearest way to show them is a chart of eight small rolls with a letter A on each one. The A is the design as it reads; the arrow, the direction in which the label comes off. Choosing one states at the same time which face points outwards and which edge comes off first.
Numbering from 1 to 8 is the most common, with the first four positions for face out and the last four for face in, but it is not universal: some suppliers number them in a different order, others draw a single roll with the agreed position, and others describe the position in words. That is why, when comparing artwork proofs from different sources, what counts is the drawing, not the number. If your applicator manual gives the position as “No. 3”, ask for confirmation of which drawing it corresponds to.
The rule of thumb: with the printed face out, the position in which the design comes off top first and the one in which it comes off bottom first are the two most common. Side exit positions appear mainly on applicators that label the side of a container moving along the line.
Why it matters: applicators, printers and dispensers
If the labels are applied by hand, the winding direction hardly matters: the operator turns the label without thinking about it. It matters as soon as a machine is involved, and each type of machine sets its own conditions.
Automatic applicator
The applicator peels the label off the liner over a peel plate and places it on the product passing in front of it, always in the same position. The label reaches the part exactly as it comes off the roll: if it should come off top first and comes off bottom first, it ends up upside down on every product in the run. On a labelling machine of this type, the winding position is set by the machine and by the product path, and it cannot be corrected by rotating anything. Many applicators work with the face out, but some models and set-ups require the face in: check yours.
Thermal transfer or direct thermal printer
Label printers, desktop or industrial, work in the vast majority of cases with the printable face out. Some models also accept the roll with the face in if it is mounted on the right holder, but it is better not to count on that without testing it. On a blank label the leading edge does not matter. On a pre-printed label for overprinting variable data, such as the batch, the date or the ingredients in a box that is already printed, it does: the design software places each field on the assumption that the label feeds in by a specific edge. If it feeds in by the opposite one, the data comes out rotated 180° in relation to the box.
✓ What to do
If you already have the roll and the only problem is that the label feeds in bottom first instead of top first, rotate the design 180° in the label software or enable inverted printing in the printer driver. If the printed face is wound in and the printer does not accept it, no setting will solve it.
Print-and-apply machine
Systems that print and apply in line, known as print & apply, combine both requirements: that of the printhead, which needs the printable face out, and that of the applicator arm, which sets the leading edge. This is where an error is hardest to correct, because the design in the software, the roll and the mechanics all have to match.
Dispensers and hand labellers
Desktop dispensers and hand labellers peel the label off by its leading edge and present it to the operator. They work with the face out and with a small core, and the leading edge only matters if the label has to sit in a fixed orientation on the product.
Where it is specified: the artwork proof you sign
Before a printed label is produced, the supplier sends an artwork proof for your approval. It shows the dimensions, the inks, the die-cut shape, the material and, in one corner, the roll drawing. Signing it means accepting everything it contains. Whatever is not spotted at that moment is produced as it stands, and the cost of an entire run wound the wrong way is borne by whoever approved it.
These are the details that a complete artwork proof should settle, in addition to the design:
| Detail | What it sets | Example |
|---|---|---|
| Dimensions and die cut | Width × height of the label, corner radius or shape | 80 × 60 mm, rounded corners |
| Inks and material | Colours (Pantone or four-colour process) and face material | Black + Pantone, white polypropylene |
| Winding direction | Face out or face in, and leading edge | Face out, bottom first |
| Core | Inside diameter of the cardboard core | 40 or 76 mm; 25 mm for desktop printers |
| Maximum outside diameter | The one the machine's roll holder accepts | 127 mm for desktop, 200 to 300 mm for industrial |
| Labels per roll | How many fit without exceeding that diameter | 1,000, 2,000, 5,000 |
| Lanes and gap | Labels across the width of the liner and gap between them | 1 lane, 3 mm gap |
What appears on the artwork proof depends on each supplier; if any of these details is missing, ask for it before signing. Labels for automatic applicators always come in a single lane.
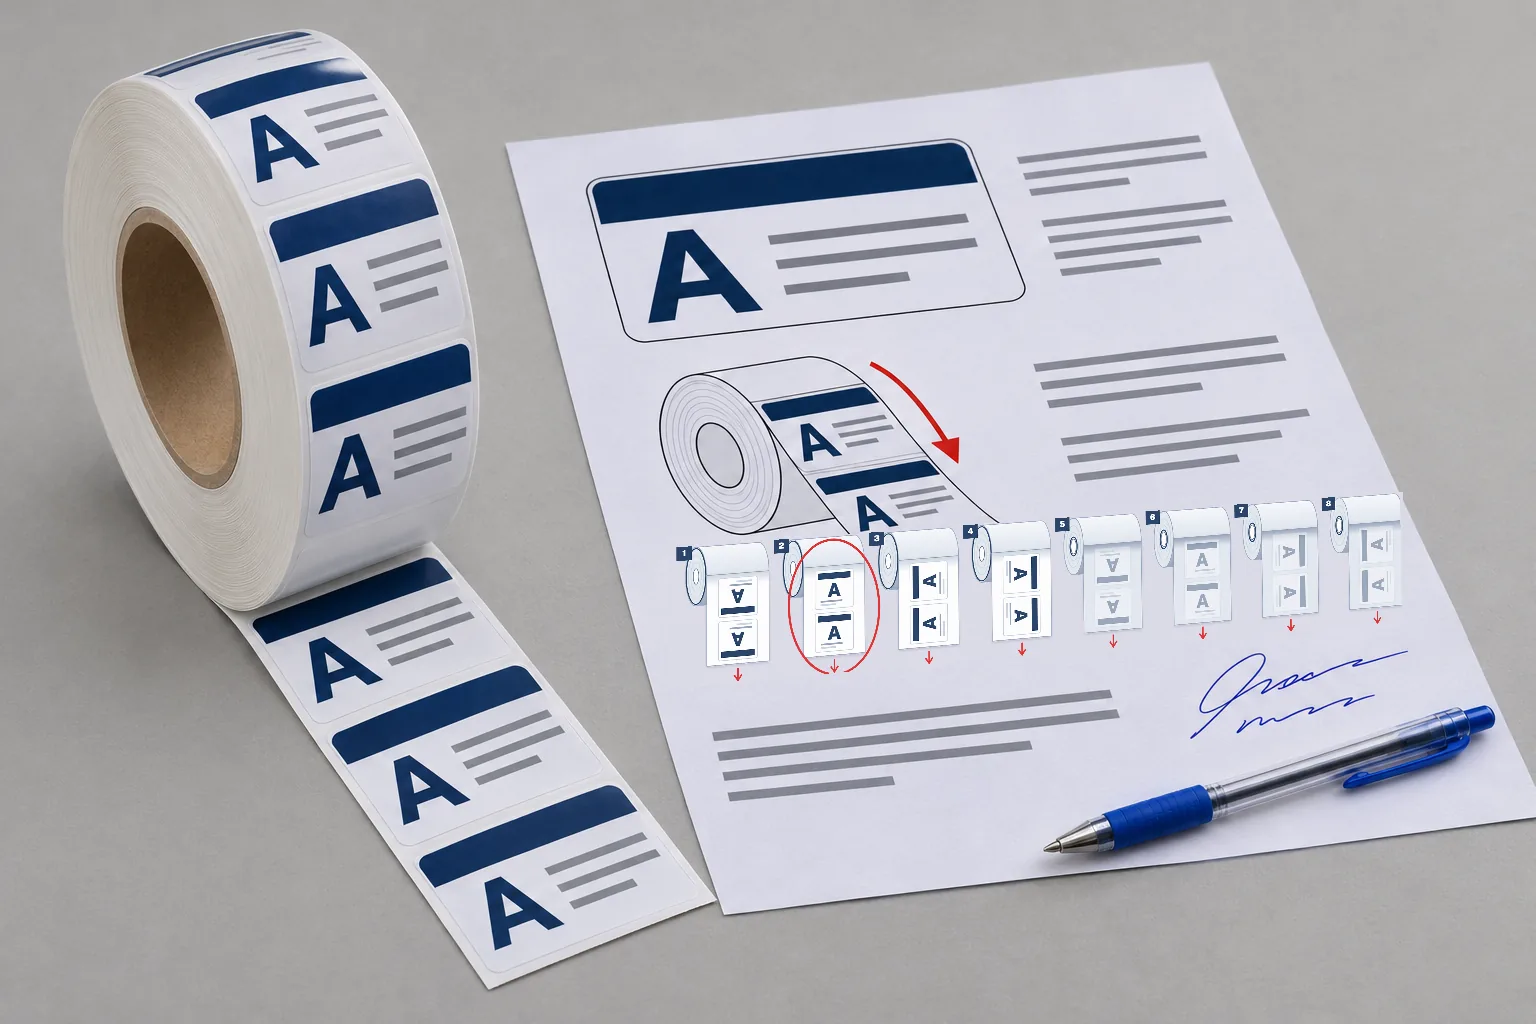 iImage created digitally for illustrative purposes.
A detail that often comes as a surprise: winding direction also applies to round labels and symmetrical ones. A 77 mm circular label has a top and a bottom like any other, because the design printed on it has them, and so do the boxes that are overprinted later.
How to find out which position you need
If you do not have this information, there are three ways to obtain it, from the most reliable to the least:
- Look at a roll that already works on the machine. Unwind a hand's width and check two things: whether the printed face is on the outside, and which edge of the design comes off first. That determines the position. A photo of the roll unwound by a hand's width, with the design visible, is enough for us to set it.
- Check the applicator or printer manual. It usually states which way the face should point and, for applicators, the exit orientation in relation to the product.
- Take a photo of the roll mounted on the machine. If it shows where the liner feeds in and which way the product moves, the position can be worked out.
What is not advisable is simply ordering “the same as last time”. If, between one order and the next, the machine has changed, the applicator has been moved to the other side of the line or the design has been rotated to fit the printer, the position may have changed without anyone noting it down.
Caution
Rotating the design 90° so that a wide label fits on a 4-inch printer changes the leading edge: what used to come off top first now comes off a side first. If the label goes to an applicator, the position has to be set again. We explain this in the guide on labels wider than the printer.
Mistakes we see again and again
- Signing the artwork proof after looking only at the design. This is the most frequent one. The roll drawing is part of what is being approved.
- Confusing the direction of the face with the leading edge. Saying “face out” is only half the information; which edge of the design comes off first is still missing.
- Giving the position as a number without the drawing. One supplier's “No. 2” may be another's “No. 1”.
- Changing machine and repeating the previous order. The roll that worked on the desktop printer will not necessarily work on the new applicator, whether because of the winding direction, the core or the diameter.
- Forgetting the labels that are overprinted. A pre-printed roll with blank boxes for the batch and the date has to feed into the printer by the edge the label software expects.
Not sure which position your machine needs? Send us a photo of the roll and we will confirm it.
Ask with no obligationWhat to tell us when ordering the labels
With this information we prepare the artwork proof with the winding direction already worked out, and all you have to do is confirm it:
- How the label is applied: by hand, with a dispenser, with a printer, with an automatic applicator or with a print-and-apply machine. If it is a machine, the make and model.
- A sample roll or a photo of a roll that already works, unwound by a hand's width with the design visible.
- Whether the label is overprinted and with which software, so that the leading edge matches the design in the software.
- Core, maximum diameter and labels per roll that the machine accepts. If you do not know, the model is enough for us to look it up.
- Where the label goes and what it has to withstand, to choose the material and the adhesive. The guide to choosing the material helps you decide.
Summary
Winding direction combines two decisions: which way the printed face points, out of or into the roll, and which edge of the design comes off first when the roll is unwound. There are eight positions, and each machine accepts one. If the labels are applied by hand, it makes no difference; if an applicator, a printer or a dispenser is involved, it does.
This detail is settled on the artwork proof signed before production, with a roll drawing that deserves the same attention as the text and the dimensions, because a roll wound the wrong way is produced exactly as it was approved. To set it, it is enough to look at a roll that already works, or to send us a photo.
If you tell us how the label is applied and on which machine, we prepare the artwork proof with the correct position, the core and diameter you need, and the right material for the application.
Frequently asked questions
What is the winding direction of a label?
It is the way the labels are wound on the roll: with the printed face out or face in, and with which edge of the design coming off first when the roll is unwound (top, bottom, left side or right side). It is set before the roll is made and shown with a drawing on the artwork proof that you sign.
What is the difference between wound out and wound in?
When the labels are wound out (face out), the printed face is on the outside of the roll and can be seen without unwinding it. When they are wound in (face in), the printed face points towards the core and the liner is what shows on the outside. Most label printers and dispensers work with labels wound out; automatic applicators may require either of the two.
How many winding positions are there?
Eight: four with the printed face out and four with it facing in, depending on which edge of the design comes off first (top, bottom, left side or right side). The most common numbering runs from 1 to 4 for face out and from 5 to 8 for face in, but each supplier prints its own chart: what counts is the drawing, not the number.
How do I know which position my machine needs?
The safest way is to look at a roll that already works on it: unwind a hand's width and check whether the printed face is on the outside and which edge of the design comes off first. If you do not have a roll, the applicator or printer manual states the direction, and a photo of the roll mounted on the machine is enough for us to determine it.
What happens if I approve the artwork proof with the wrong winding direction?
The roll is made exactly as signed. If only the leading edge changes between top and bottom and the label is overprinted, it can sometimes be saved by rotating the design 180° in the printer software. If the face is the wrong way round, or the roll goes to an automatic applicator, it has to be rewound or made again. That is why it is worth checking the roll drawing with the same care as the text and the dimensions.